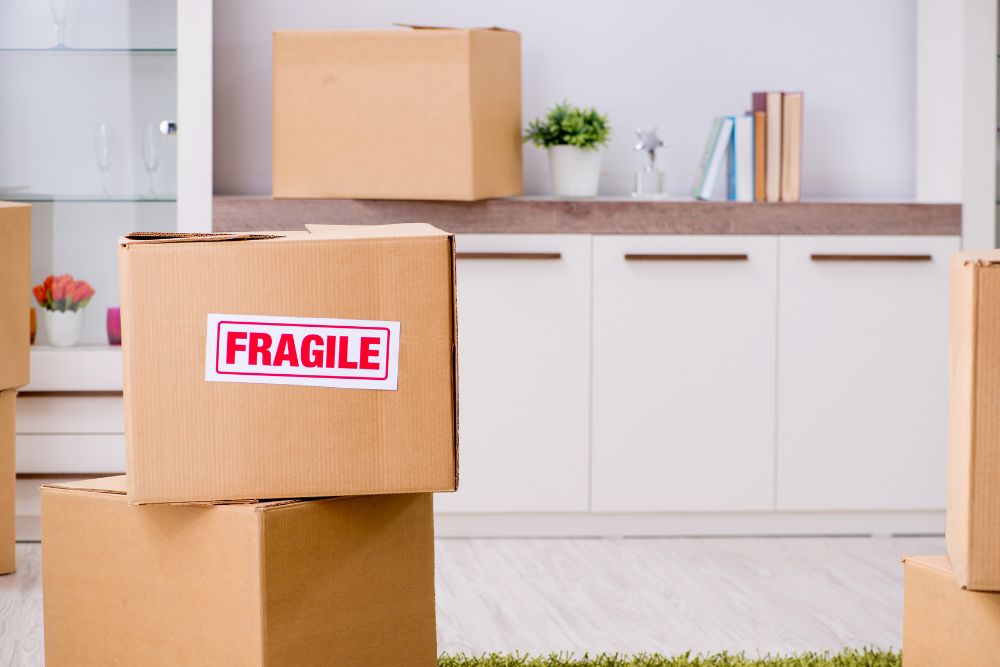
Packing up and moving is a nerve-wracking process. Property owners have so many different components to consider. And things can get jumbled up. Now add the extra pressure of handling fragile items, and you’ve hit the trifecta of stress. But this doesn’t have to be a pull-out-your-hair moment. Read over this ultimate guide to moving and storing fragile items so that you never need to worry about a broken vase again.
Moving Fragile Items
Even the most precise drivers need a little bit of help from time to time. You can take the most careful route with the least number of potholes in the road, but it still won’t make a difference to your fragile items if you don’t pack them properly first.
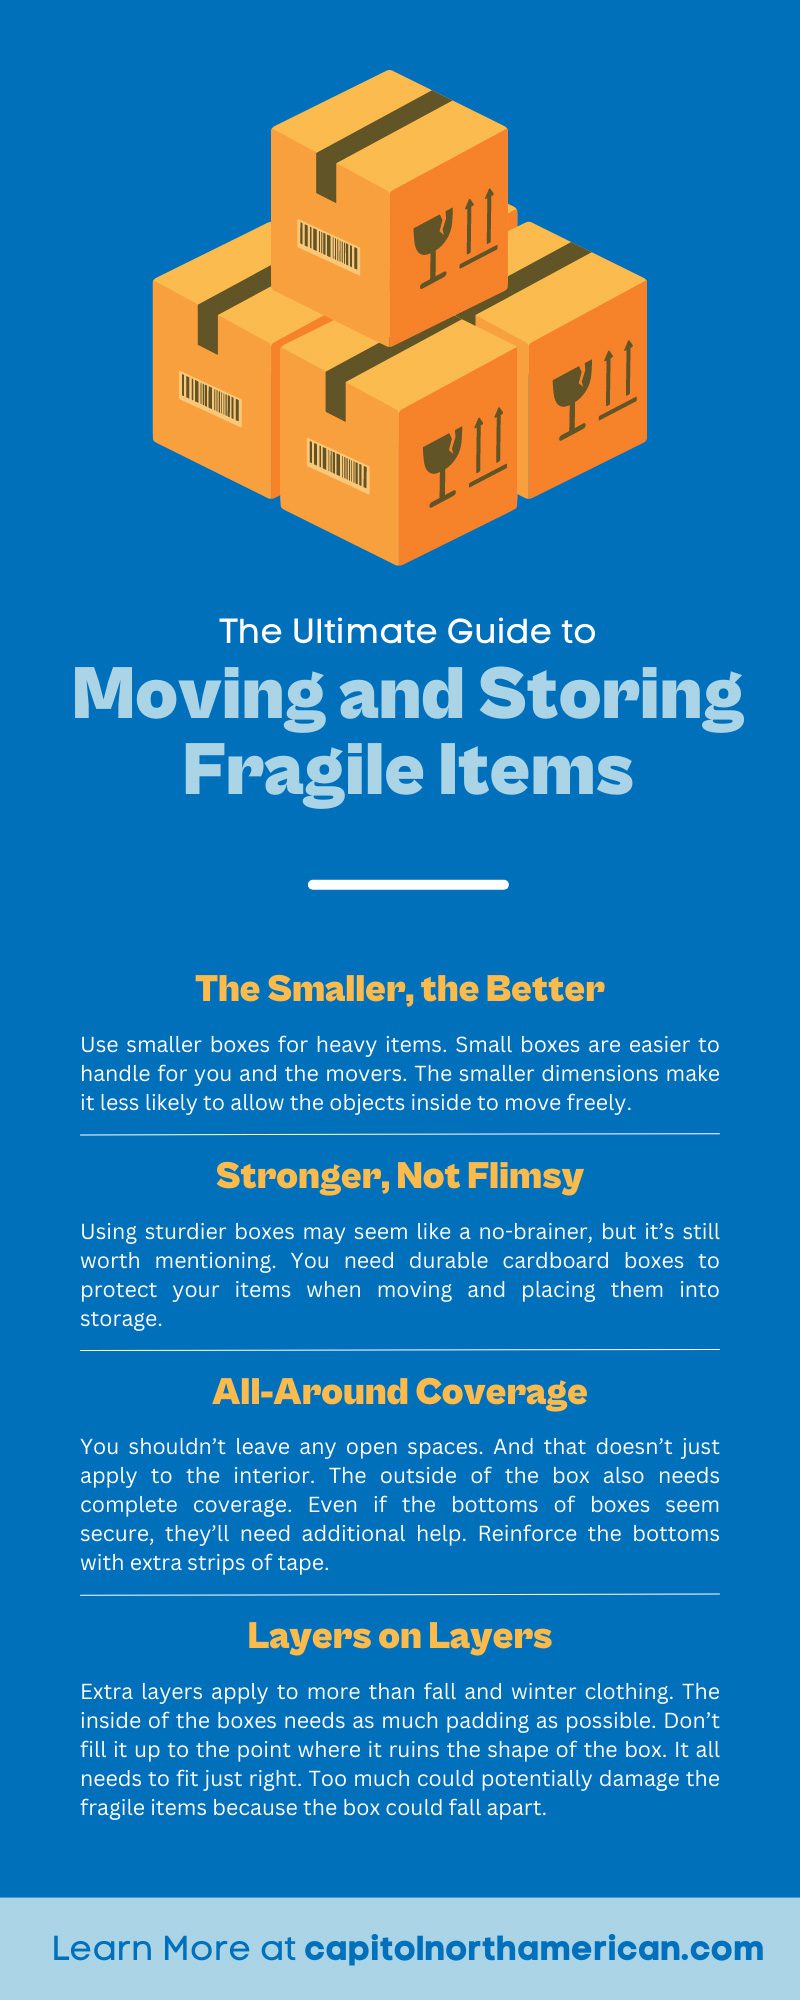
The Smaller, the Better
Smaller boxes are not the enemy. They’re the best helpers on your team. Use smaller boxes for heavy items. Small boxes are easier to handle for you and the movers. The smaller dimensions make it less likely to allow the objects inside to move freely.
Rattling around inside a larger box while making a sharp turn leads to a broken item. A smaller box doesn’t mean you’re home free. You still need to pad the inside and fill in the empty spaces because some will exist.
Stronger, Not Flimsy
Using sturdier boxes may seem like a no-brainer, but it’s still worth mentioning. You need durable cardboard boxes to protect your items when moving and placing them into storage. Moving can get expensive, so you should try to look for ways to make the process cheaper.
Cutting corners is fine, but never do so when moving boxes. The cardboard needs to be thick and durable. It’s better for everyone and everything involved—especially the fragile items. If a box has any give whatsoever, place it back and look for a new one.
All-Around Coverage
You shouldn’t leave any open spaces. And that doesn’t just apply to the interior. The outside of the box also needs complete coverage. Even if the bottoms of boxes seem secure, they’ll need additional help. Reinforce the bottoms with extra strips of tape.
These will support the box better and keep it from buckling under the weight of its content. Not every item will be extremely heavy, but lightweight items also need additional tape. Go around the box at least three times. Thicker tape might only require two times.
Layers on Layers
Extra layers apply to more than fall and winter clothing. The inside of the boxes needs as much padding as possible. Don’t fill it up to the point where it ruins the shape of the box. It all needs to fit just right. Too much could potentially damage the fragile items because the box could fall apart.
Layer the bottom of the box with soft packing material. Feel free to use any of the standard items:
- Packing paper
- Bubble wrap
- Foam
- Styrofoam peanuts
- Towels
- Bedsheets
Once you’ve packed everything, fill in the remaining empty spaces. Pack the heaviest items on the bottom. Layer the items from largest to smallest so that the base of the box has good support.
Making Stacks
Live by this motto: make stacks on stacks on stacks! And we’re not referencing money. Stack items whenever you can to prevent the possibility of breakage. You can stack breakable bowls or plates together. Place a piece of strong cardboard at the bottom of the box.
Additionally, put packing paper or bubble wrap between each bowl or plate. Try and stack at least four to five plates and stuff the paper around the stack. However, you don’t want to do the same with cups and glasses. Instead, use dividers for glasses and stemware. You can purchase boxes that already come with dividers inside.
Originals, Not Duplicates
Why deal with the struggle of finding a box to fit specific items when there’s already a box perfect for them? We mentioned homeowners cutting corners to save money, and this is where you can do it. Instead of purchasing a new box to fit your television or monitors, use the original packaging.
Hopefully, you didn’t throw it away. The manufacturers design and package these items in a way to avoid damage. They want satisfied customers, so you can trust their judgment. Imitate their packaging technique. Plus, the original boxes come in the perfect sizes, so you don’t need to manipulate anything to fit your items within them.
Breaking Down and Dismantling
Never assume bulky items can’t encounter some damage. And, more importantly, never underestimate how much damage they cause. Dismantle large and bulky furniture. They’re always a pain to move, mentally and physically.
Breaking them down makes it easier to handle and protect them. After dismantling them, wrap each piece in layers of bubble wrap and seal them with packing tape. Packing a large mirror requires a slightly different process. Add a large piece of sturdy cardboard to the inner and outer layers, with a layer of bubble wrap in the middle. The same rules apply to pictures and paintings.
Storing Fragile Items
Now that you know how to pack the items safely for transport, let’s learn about storing them. Sometimes every item won’t make it inside the new location. And that means you’ll need to store them for the time being.
Choose Wisely
The best thing you can do for these fragile items is to choose wisely. There are hundreds of storage facilities out there, but not all of them can handle the job or have a good reputation. Select a facility that has well-ventilated and temperature-controlled environment units.
They also need to be a business that understands how to store fragile items. Furthermore, the items need to be away from water or places where potential damage could occur.
If you’re looking for a service to safely transport or reliably store your fragile possessions, look no further. At Capitol North American, we handle moving and storage in Las Vegas, NV.
Tell us what you need, and we can handle it. Providing advice and guides for moving and storing fragile items is what we’re all about. For more information, visit our website.